
Just a few steps to create your own unique music style!
The Rainbow headphones feature a fully modular design, allowing you to easily change styles and assemble them freely. Here's the assembly process:
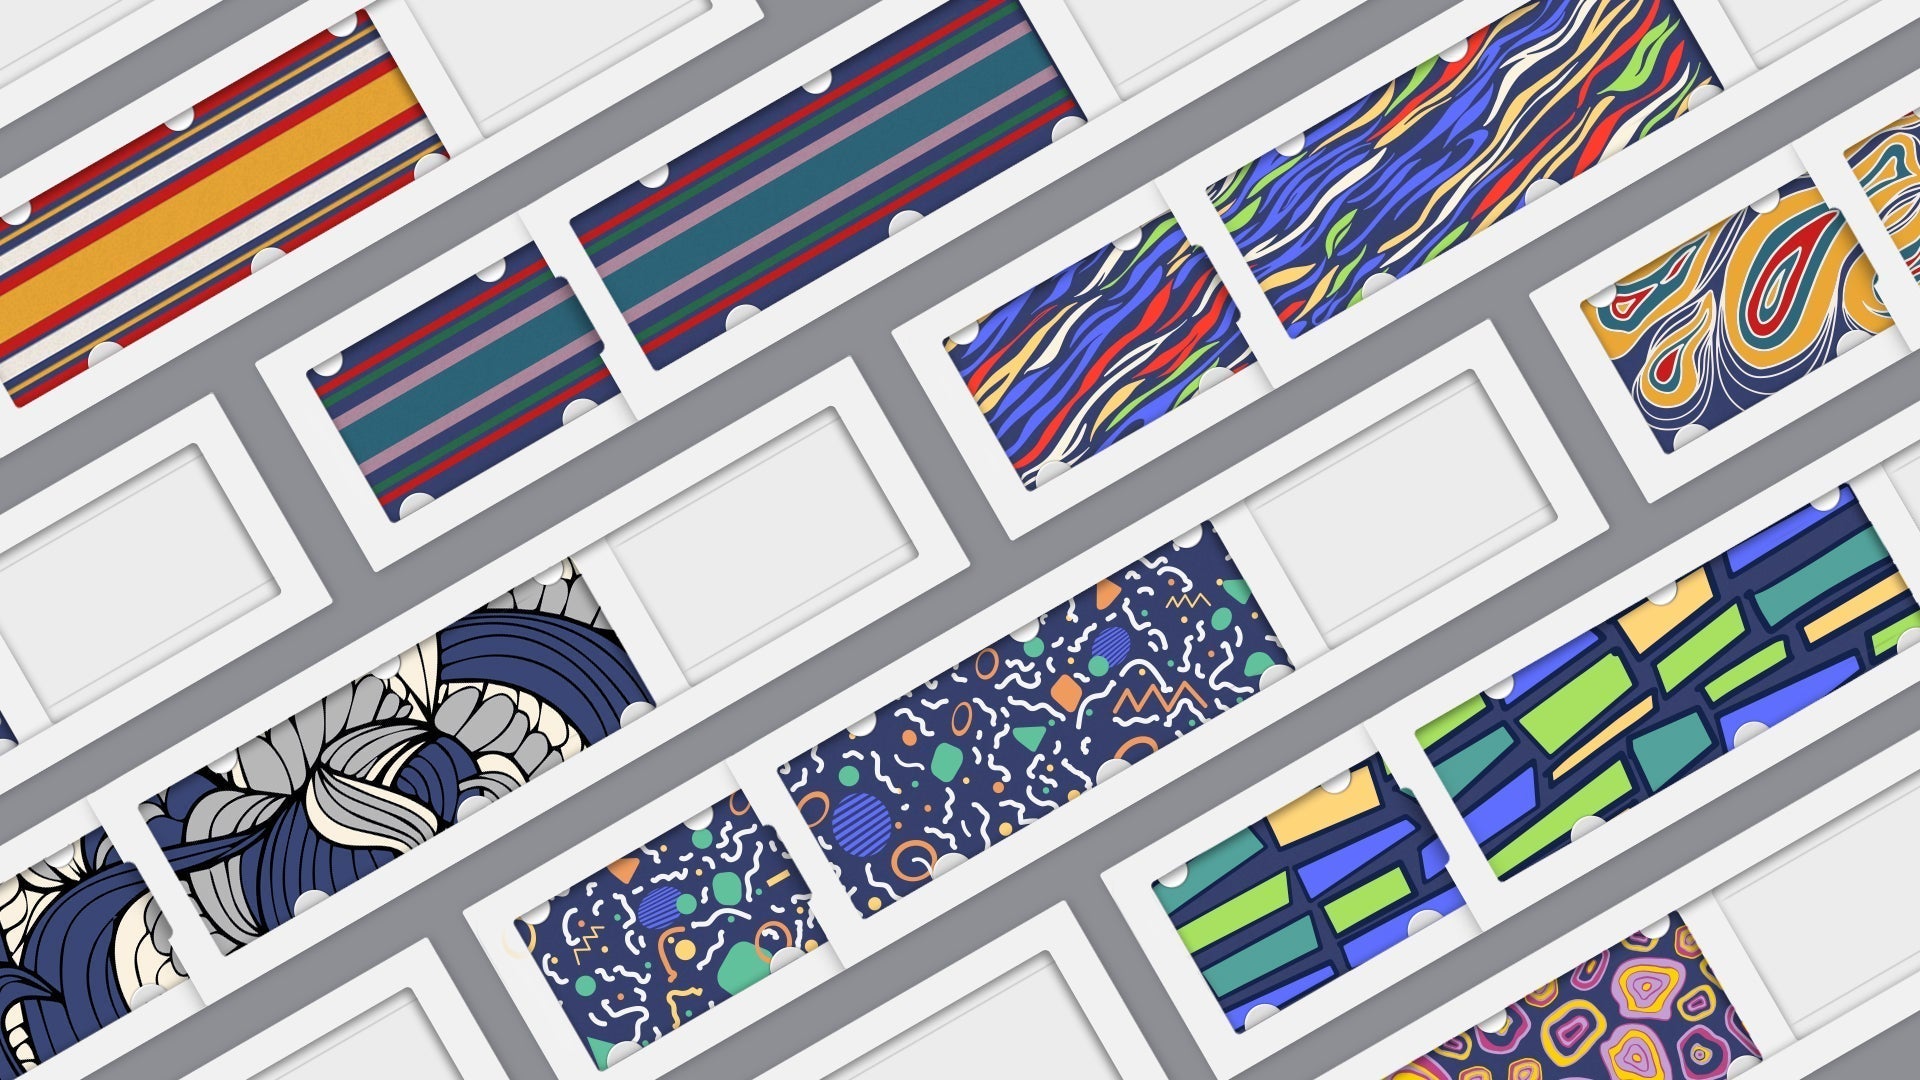
 🧩Step 1: Choose your style accessories
Choose your favorite color and material from our selection of headbands, earmuffs, and exterior panels. Each component can be freely combined to create up to 96,000 different appearance combinations .
🔧Step 2: Install the earmuffs
-
Align the ear cups with the connectors on the headset.
-
Gently press in and rotate until it clicks into place.
(Earm covers can be selected as "full-ear" or "half-ear" designs)
🪡Step 3: Install the headband
-
Align the buckles on both ends of the headband with the snap points on both sides of the headset body.
-
Press lightly and hear a click to complete the installation.
(Rainbow uses a button-and-mortise design , making replacement quick and effortless)
 🎨Step 4: Replace the outer panel (optional)
-
Rotate the housing counterclockwise to remove the original panel.
-
After replacing the new panel, tighten it clockwise to complete.
(Supports personalized customized panels and regularly launches limited editions)
✅Done!
Now your exclusive Rainbow headphones are assembled and ready to use them to hear every color of the world!
Share:
Buy with confidence! Rainbow's comprehensive protection
Explore the sound and color universe of Rainbow